We will practice our JS and React skills and use some popular open-source libraries. Here is a live demo of what we are going to create.
So, let’s begin!
Creating a NextJS project
Since we would like our users to be able to save pens, we don’t want to create just a client-side project, but a full-stack one.
NextJS is an awesome framework that lets us create full-stack react applications with server-side rendering (SSR) and much more. Even though our use-case does not require SSR, I chose to use NextJS because it is super easy to create a full-stack app with it and deploy it later on.
Let’s create our project using the following command:
npx create-next-app my-code-pen# Or if you use yarnyarn create next-app my-code-pen
You should now be able to run a development server of the demo project that we just created:
cd my-code-pennpm run dev# Or if you use yarnyarn dev
You now have the server up and running, open it on the browser:
Layout — split the screen into resizable panels
We will begin the coding of our project by setting the basic design layout.
Our screen should be divided into 3 editors — HTML, CSS, JS, and 1 preview pane. Users should be able to resize these parts.
To get this behavior we need to implement some drag & drop ability. Luckily, there are many open-source React libraries that do just that.
We will use react-split-pane
npm install react-split-pane# Or if you use yarnyarn add react-split-pane
Now let’s start experimenting with the library.
In your project root, under pages you have the index.js, replace it with this code:
| import React from "react"; | |
| import SplitPane from "react-split-pane"; | |
| const Index = () => { | |
| return ( | |
| <SplitPane split="vertical" minSize={"50%"}> | |
| <div>Part 1</div> | |
| <div>Part 2</div> | |
| </SplitPane> | |
| ); | |
| }; | |
| export default Index; |
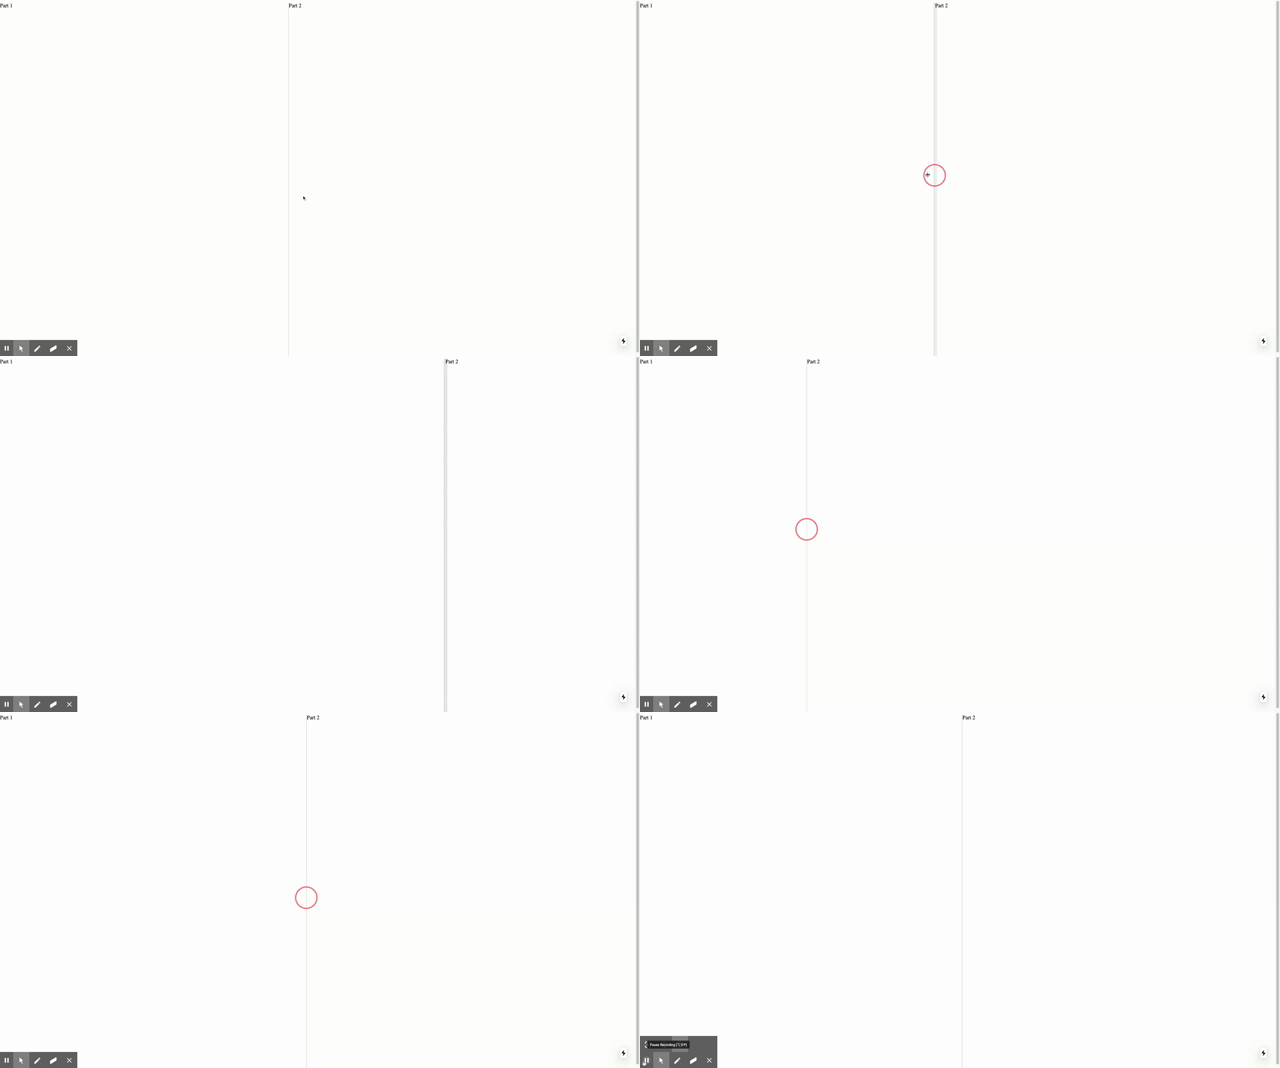
SplitPane can get 2 items and split them into a resizable pane — Vertically or Horizontally. If you look at the page in the browser you will see that it’s split into 2 equal divs — part1 & part2, but where is the resize functionality?
For this to work, we need to setup SplitPane with some css.
Let’s take the example from SplitPane docs:
| .Resizer { | |
| background: #000; | |
| opacity: 0.2; | |
| z-index: 1; | |
| -moz-box-sizing: border-box; | |
| -webkit-box-sizing: border-box; | |
| box-sizing: border-box; | |
| -moz-background-clip: padding; | |
| -webkit-background-clip: padding; | |
| background-clip: padding-box; | |
| } | |
| .Resizer:hover { | |
| -webkit-transition: all 2s ease; | |
| transition: all 2s ease; | |
| } | |
| .Resizer.horizontal { | |
| height: 11px; | |
| margin: -5px 0; | |
| border-top: 5px solid rgba(255, 255, 255, 0); | |
| border-bottom: 5px solid rgba(255, 255, 255, 0); | |
| cursor: row-resize; | |
| width: 100%; | |
| } | |
| .Resizer.horizontal:hover { | |
| border-top: 5px solid rgba(0, 0, 0, 0.5); | |
| border-bottom: 5px solid rgba(0, 0, 0, 0.5); | |
| } | |
| .Resizer.vertical { | |
| width: 11px; | |
| margin: 0 -5px; | |
| border-left: 5px solid rgba(255, 255, 255, 0); | |
| border-right: 5px solid rgba(255, 255, 255, 0); | |
| cursor: col-resize; | |
| } | |
| .Resizer.vertical:hover { | |
| border-left: 5px solid rgba(0, 0, 0, 0.5); | |
| border-right: 5px solid rgba(0, 0, 0, 0.5); | |
| } | |
| .Resizer.disabled { | |
| cursor: not-allowed; | |
| } | |
| .Resizer.disabled:hover { | |
| border-color: transparent; | |
| } |
But how can we apply this css to our page?
Well, since this CSS should apply to SplitPane it has to be imported as global. The way to achieve it with Next.js is with the following 2 files:
globals.css file — already exists under the styles directory in your root project. Replace its content with the above CSS code.
_app.js — is already configured in your app to inject the globals.css to every component in your app. You do not need to touch it.
| import './globals.css' | |
| const App = ({ Component, pageProps }) => { | |
| return <Component {...pageProps} /> | |
| } | |
| export default App;
|
Let’s look at the results in the browser, we are starting to get something basic that works:
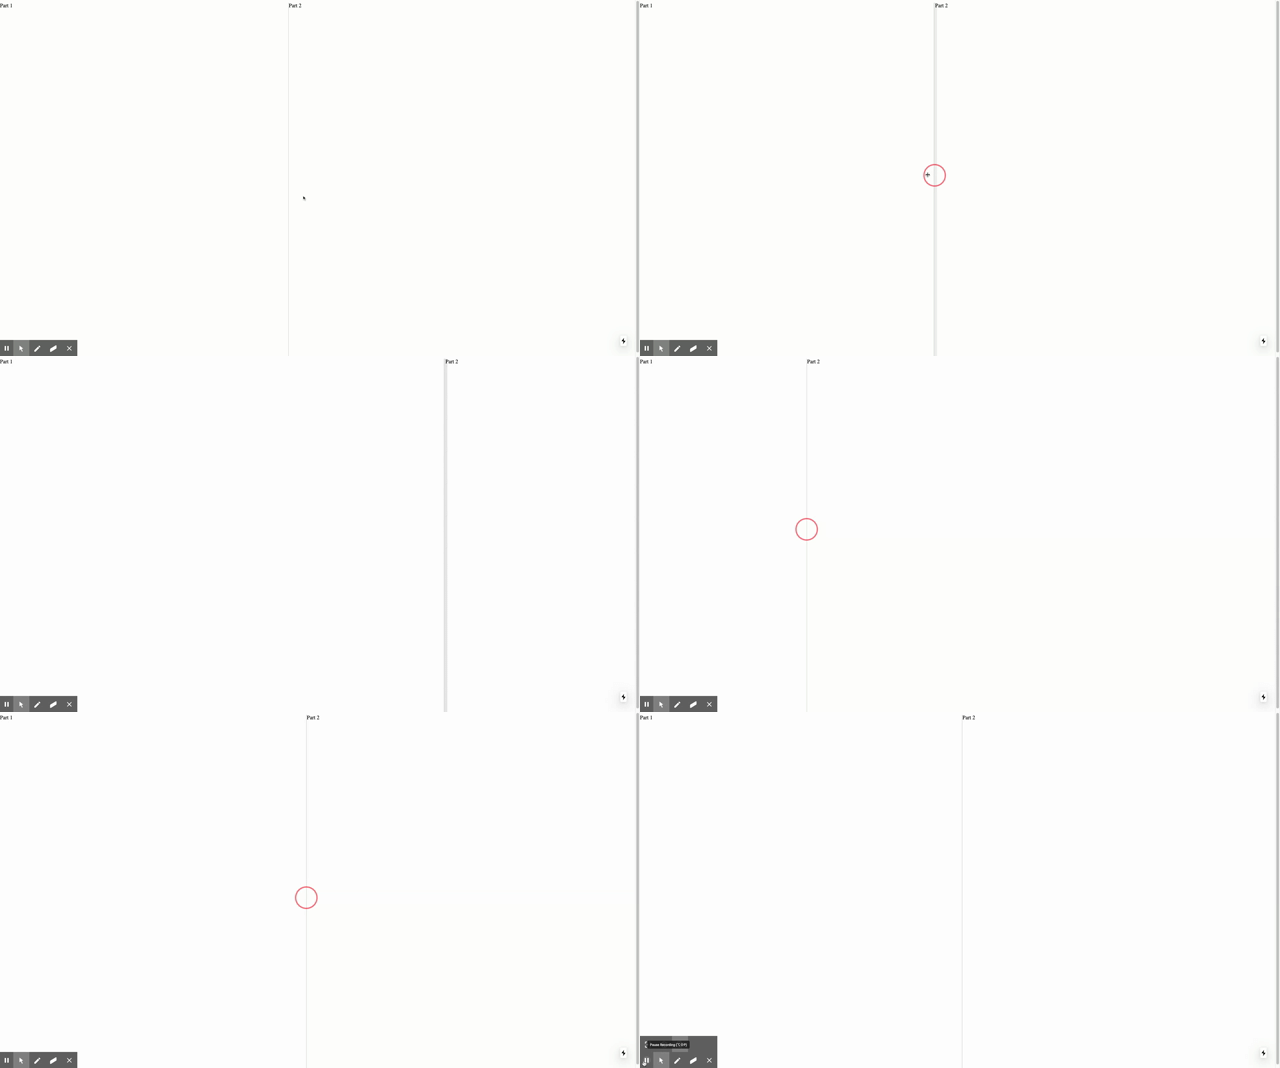
Now when we have this working skeleton, let’s make it fit our needs and change Index.js code to the following:
| import React from "react"; | |
| import SplitPane from "react-split-pane"; | |
| const Index = () => { | |
| return ( | |
| <SplitPane split="horizontal" minSize={"50%"}> | |
| <SplitPane split="vertical" minSize={"33%"}> | |
| <div>HTML Editor</div> | |
| <SplitPane split="vertical" minSize={"50%"}> | |
| <div>CSS Editor</div> | |
| <div>JS Editor</div> | |
| </SplitPane> | |
| </SplitPane> | |
| <div>Preview Page</div> | |
| </SplitPane> | |
| ); | |
| }; | |
| export default Index; |
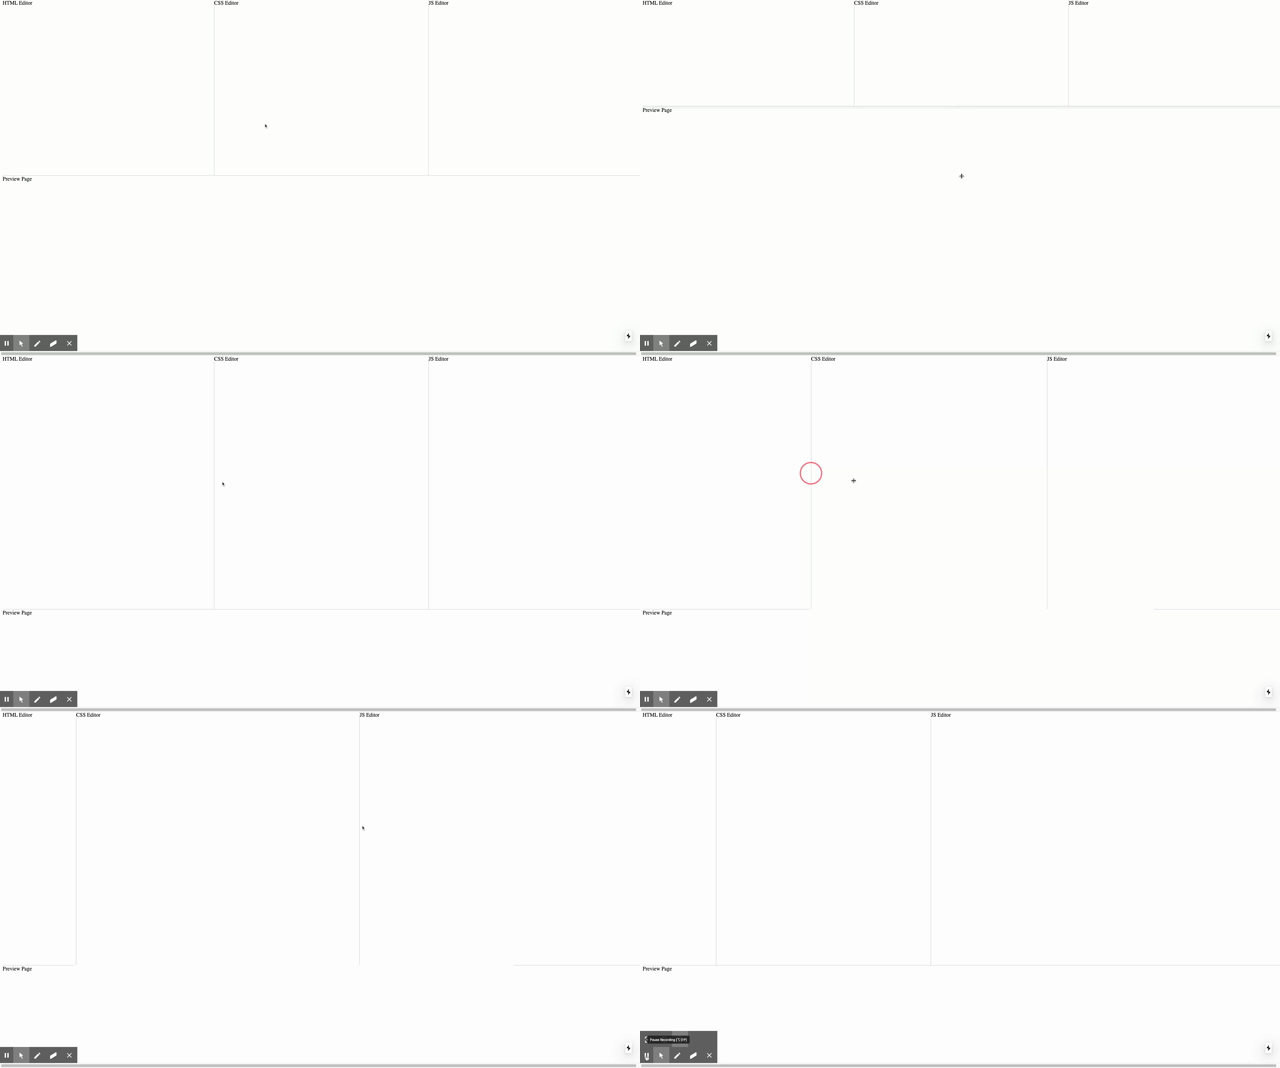
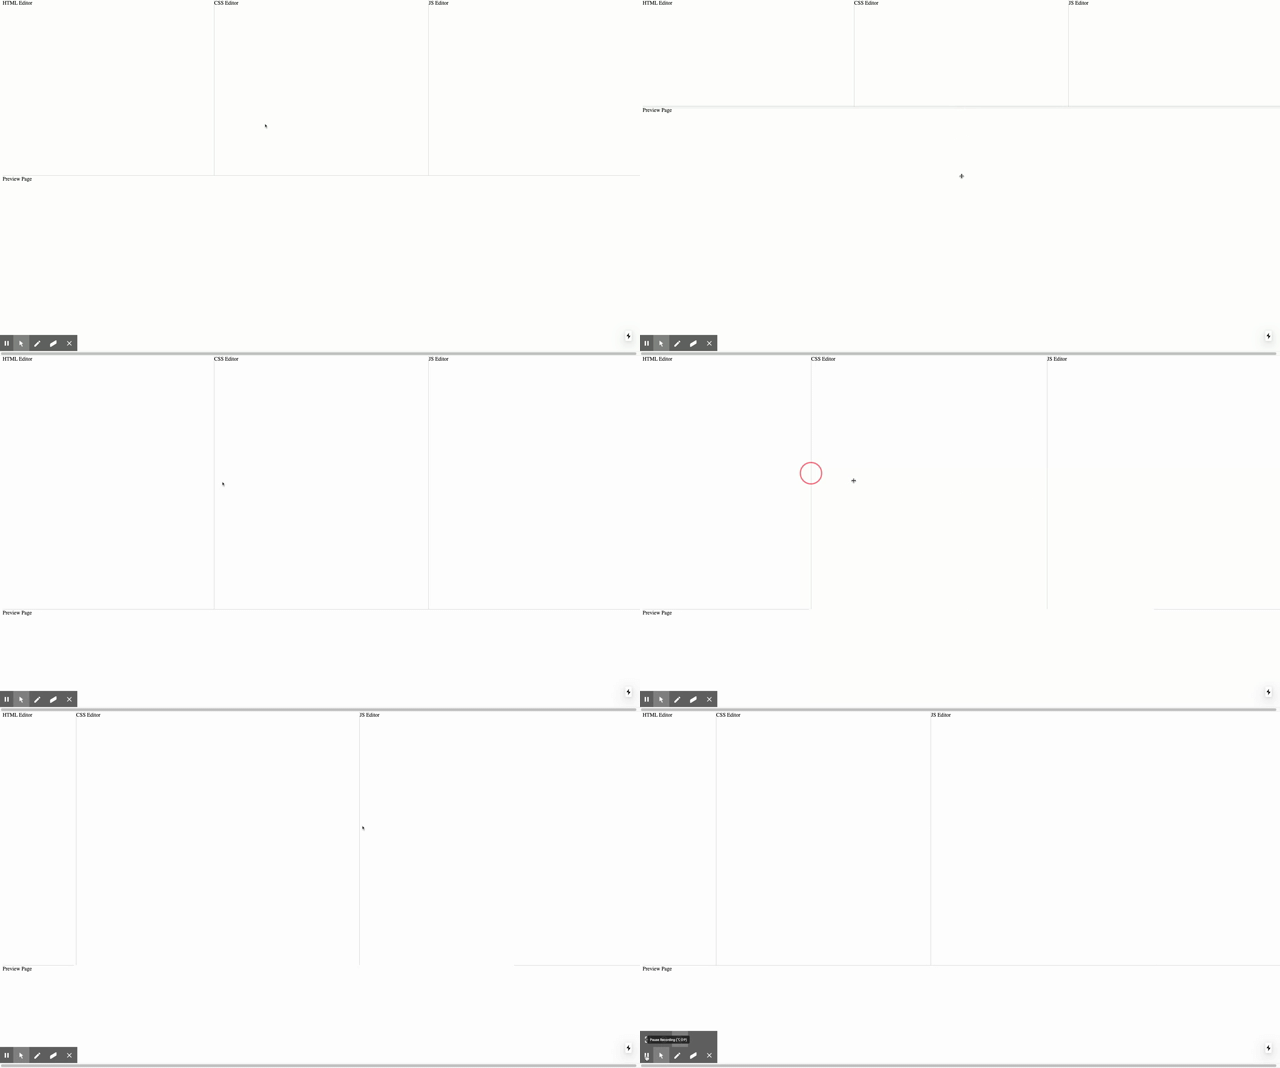
As we said, SplitPane gets 2 items — so we have to nest a couple of it together. This is the result:
Let’s add some styling to make it look better:
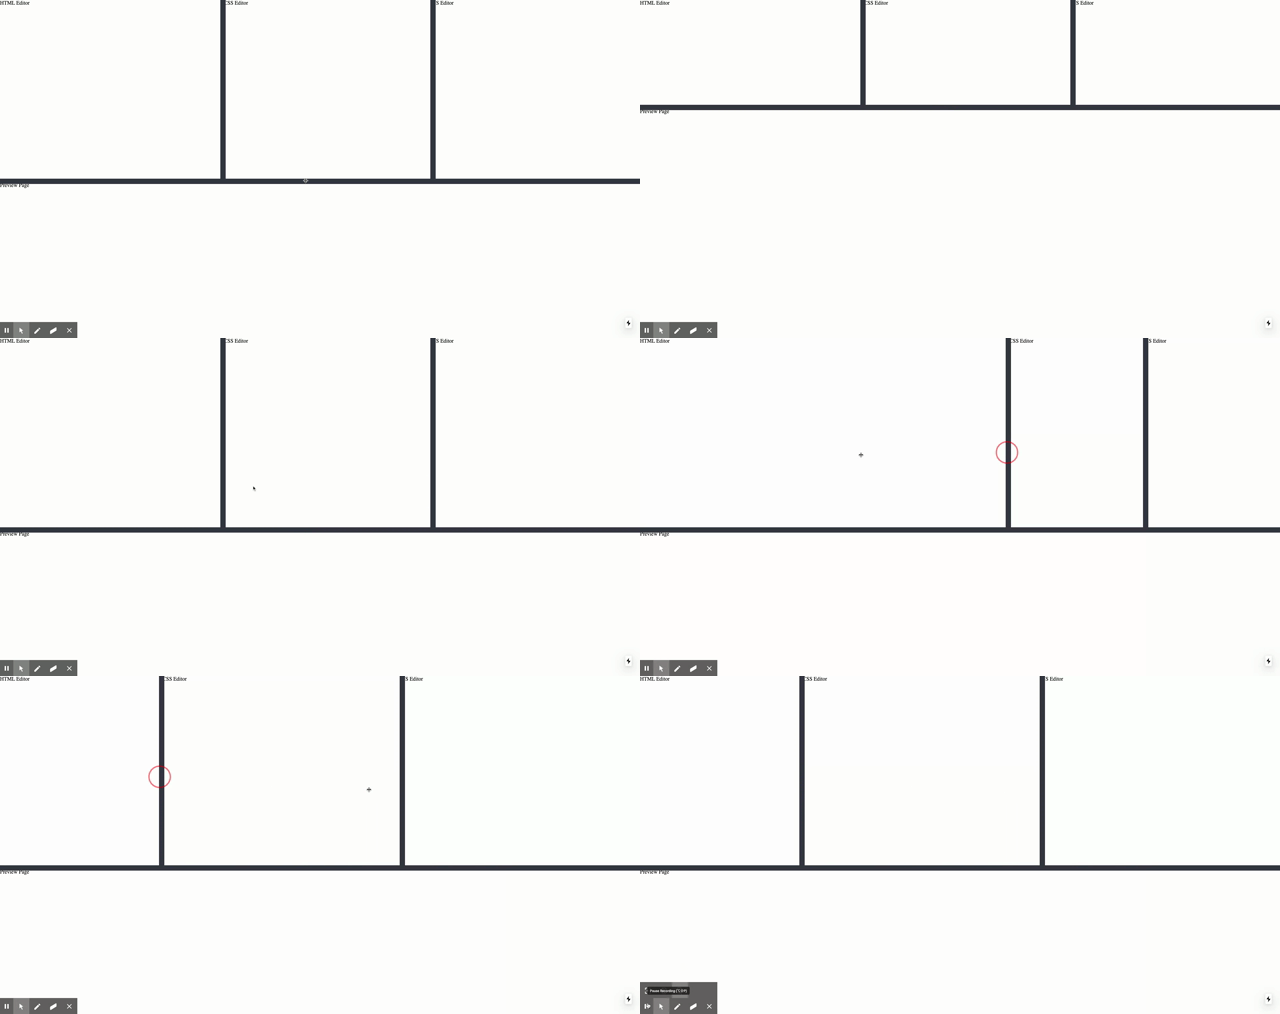
First, we will change the borders to be wider and to have that same dark mode color #333642as in codepen
Let’s change globals.css to the following:
| body { | |
| margin: 0px; | |
| } | |
| .Resizer { | |
| z-index: 10000; | |
| box-sizing: border-box; | |
| background-clip: padding-box; | |
| } | |
| .Resizer:hover { | |
| transition: all 2s ease; | |
| border: 10px solid #333642; | |
| } | |
| .Resizer.horizontal { | |
| height: 11px; | |
| margin: -5px 0; | |
| cursor: row-resize; | |
| width: 100%; | |
| border: 8px solid #333642; | |
| } | |
| .Resizer.vertical { | |
| margin: 0 -5px; | |
| cursor: col-resize; | |
| border: 8px solid #333642; | |
| } | |
| .Resizer.disabled { | |
| cursor: not-allowed; | |
| } | |
| .Resizer.disabled:hover { | |
| border-color: transparent; | |
| } |
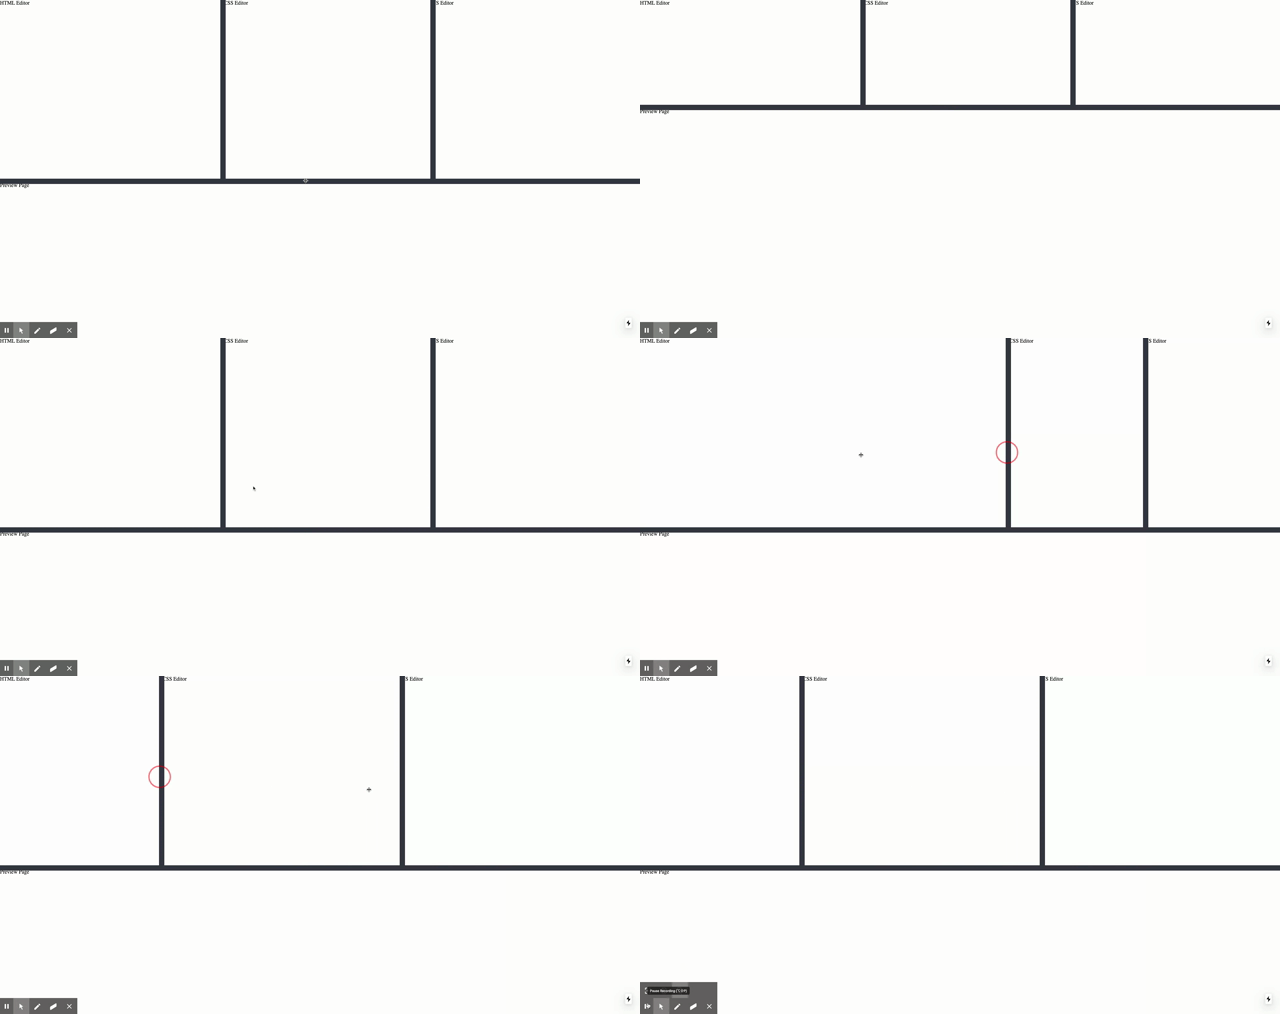
Definitely looks better:
Now what’s left is adding a background color and some font styling. But let's start splitting our code into components.
We will create 2 new files Editors.js Editors.module.css and place them under a new directory called components under our root directory.
Notice we are using css-modules, so all our CSS file names (except for global.css) must end with module.css , otherwise, you will get an error.
| import React from "react"; | |
| import styles from "./editors.module.css"; | |
| export const JavascriptEditor = () => { | |
| return <Editor title={"Javascript"}/>; | |
| }; | |
| export const HtmlEditor = () => { | |
| return <Editor title={"HTML"}/>; | |
| }; | |
| export const CssEditor = () => { | |
| return <Editor title={"CSS"}/>; | |
| }; | |
| const Editor = ({ title }) => { | |
| return ( | |
| <div className={styles.editorContainer}> | |
| <div className={styles.editorTitle}> | |
| {title} | |
| </div> | |
| </div> | |
| ); | |
| }; |
| .editorTitle { | |
| padding: 10px; | |
| font-family: Tahoma; | |
| font-weight: bold; | |
| } | |
| .editorContainer { | |
| background-color: #1d1e22; | |
| height: 100%; | |
| color: #b7bbc8; | |
| padding-left: 5px; | |
| position: relative; | |
| } |
For now, as you can see, these files contain only basic CSS for the layout. We will modify them in a bit to actually become editors.
Now we can change index.js to use these new components instead of the early dummy divs:
| import React from "react"; | |
| import SplitPane from "react-split-pane"; | |
| import { CssEditor, HtmlEditor, JavascriptEditor } from "../components/editors"; | |
| const Index = () => { | |
| return ( | |
| <SplitPane split="horizontal" minSize={"50%"}> | |
| <SplitPane split="vertical" minSize={"33%"}> | |
| <HtmlEditor/> | |
| <SplitPane split="vertical" minSize={"50%"}> | |
| <CssEditor/> | |
| <JavascriptEditor/> | |
| </SplitPane> | |
| </SplitPane> | |
| <div>Preview Page</div> | |
| </SplitPane> | |
| ); | |
| }; | |
| export default Index; |
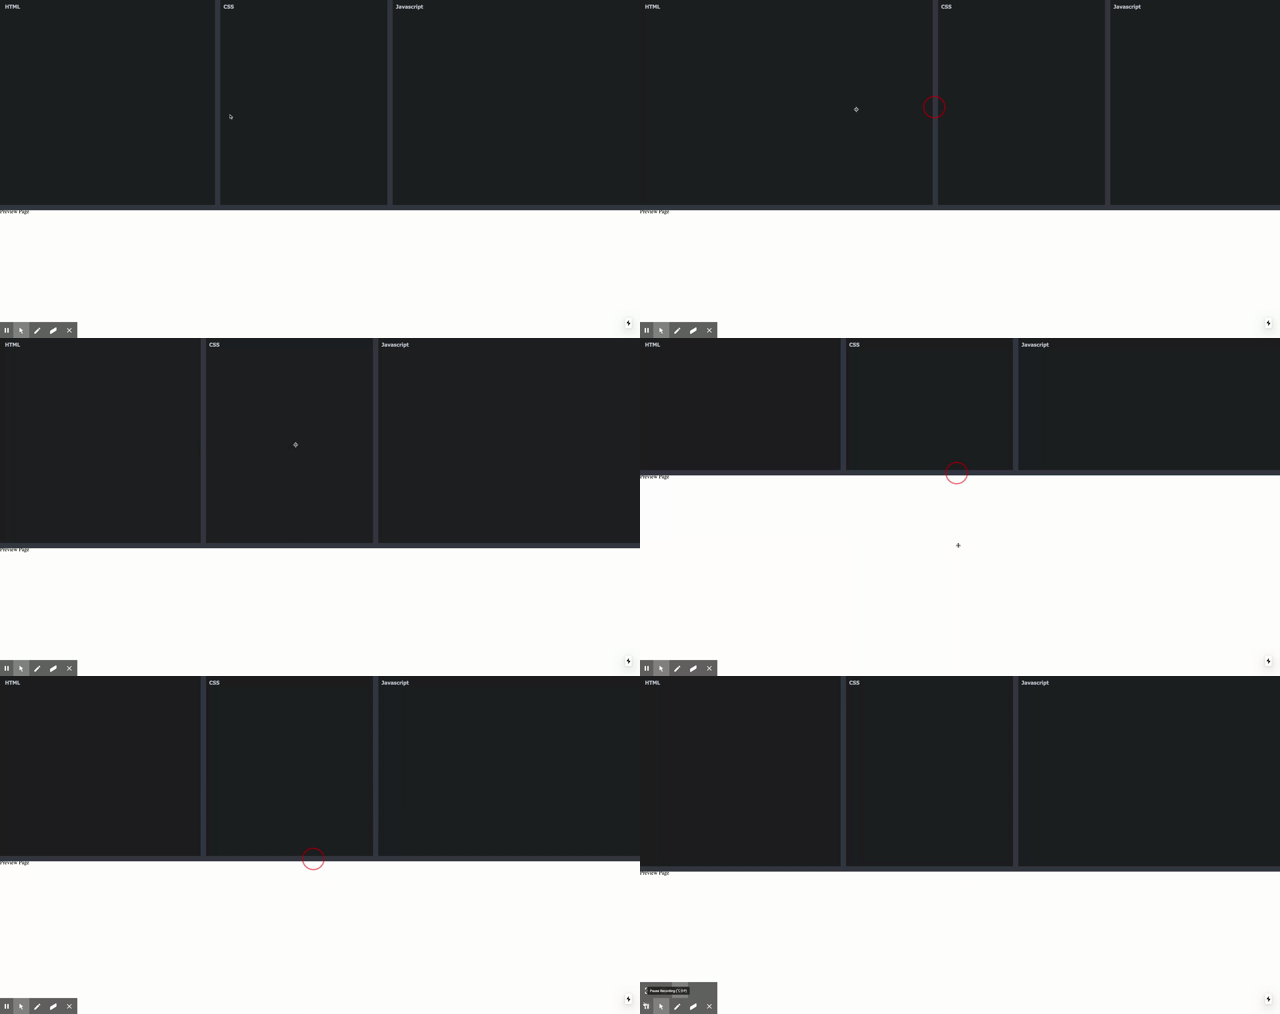
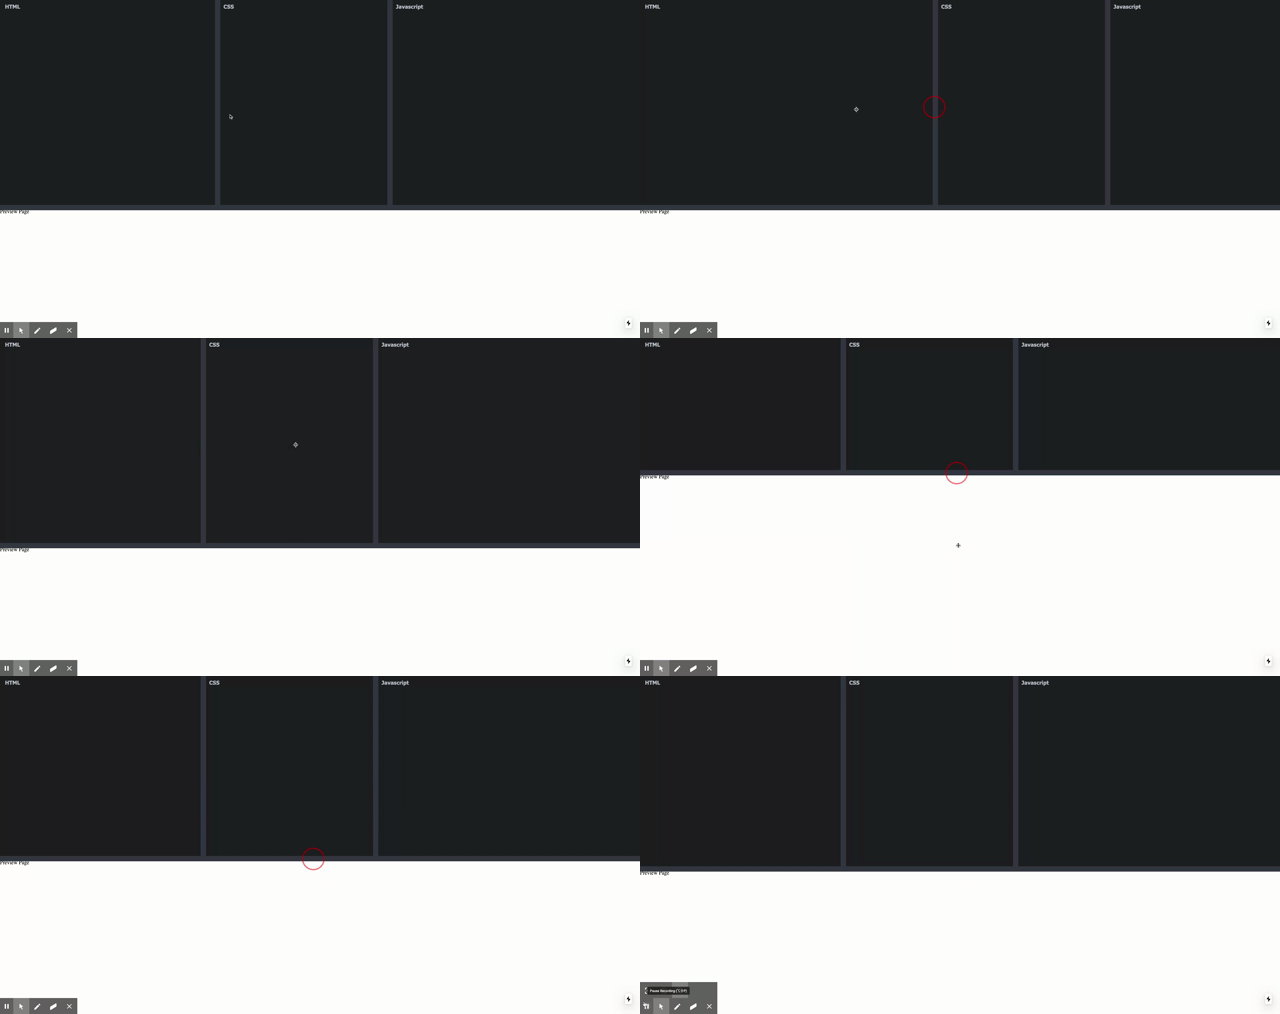
And this is the outcome:
Editors
Currently, our editors are just placeholders with a title, let’s make them editable. We are going to use the open-source project react-ace
You can experiment with react-ace here — it lets you configure the editor with all the possible options: Language, theme, font size, tab size, and much more.
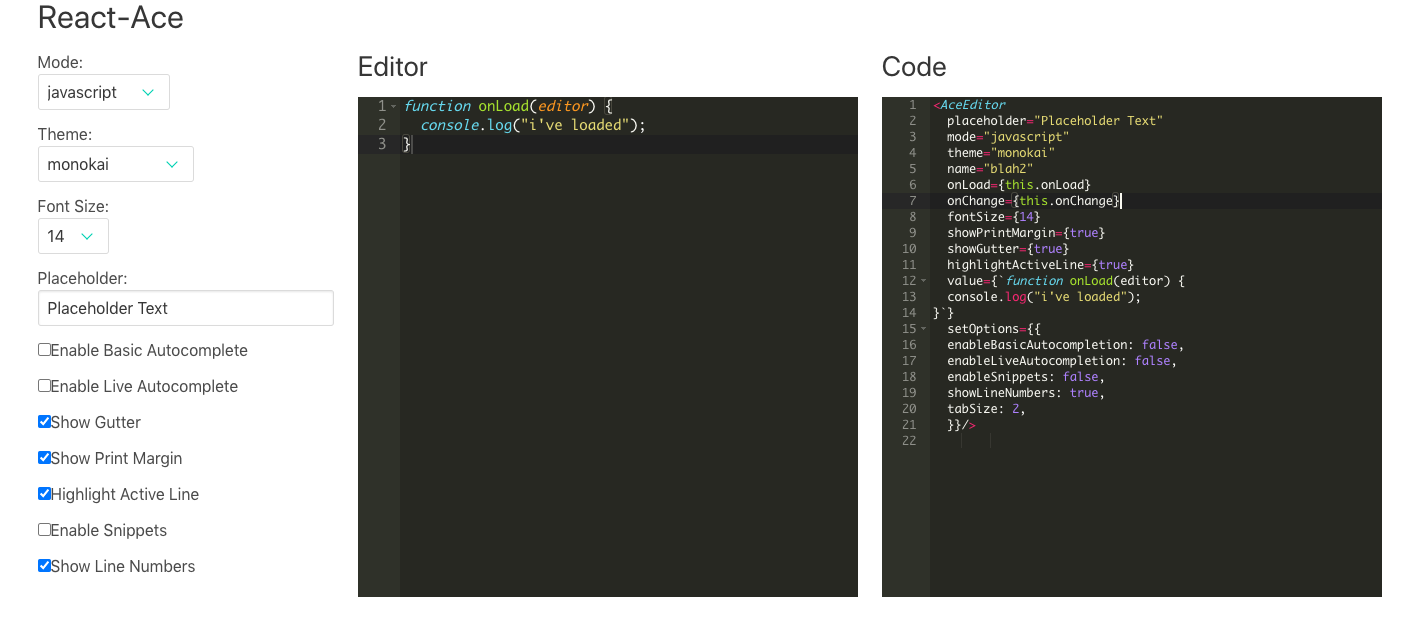
Ok, for more informations visit https://medium.com/front-end-weekly/how-to-build-your-own-codepen-app-a8a7140d52d7
How to Build HTML Live Online Editor like W3schools,Codepen in Javascript Full Project For
How to Create a JS/HTML/CSS Live Editor like JSFiddle, Codepen, JS Bin, etc.
More video
How To Build CodePen With React
https://www.youtube.com/watch?v=wcVxX7lu2d4
Here is the live projects
https://codepen.io/molarmanful/pen/yNvdLMhttps://codepen.io/gschoppe/pen/LBXYKy
https://codepen.io/ego/pen/jbxpGZ
https://codepen.io/Jsvec/pen/OzdJpj
https://codepen.io/rlo206/pen/ClEti
https://codepen.io/GauravKumar-Dev/pen/QWbqeKy
https://codepen.io/damiengbh/pen/GRpzwRQ
https://codepen.io/sfi0zy/pen/rjoeqx
https://codepen.io/vigneshwarsridharan/pen/xdMpgLhttps://codepen.io/djorborn/pen/mLoZYw
End this is our project Renault
https://superblogger3.blogspot.com/p/live-editor.html
based to https://codepen.io/gschoppe/pen/LBXYKy

